

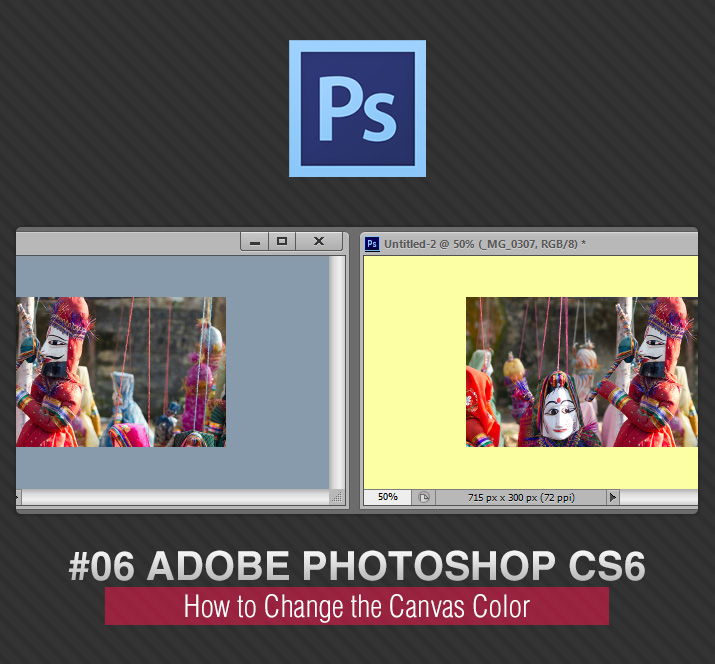
You can change your canvas color pretty easily in photoshop. Some people like the canvas color to be light gray but not the whole interface. You can also have different color for different modes.
It is completely flexible.
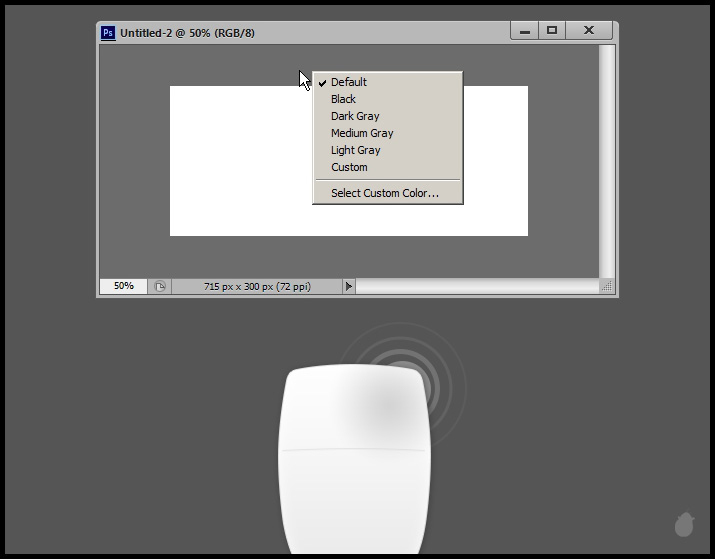
In the older version of photoshop (CS5) we had only 3 options, Default, Black and Custom Color. In CS6 they have included more options, Default, Black, Light Gray, Medium Gray, Dark Gray, Custom, Select Custom Color.
Right-click on the canvas (not on the image) to display the color options from the context menu. Changing the canvas color won't affect the interface color.
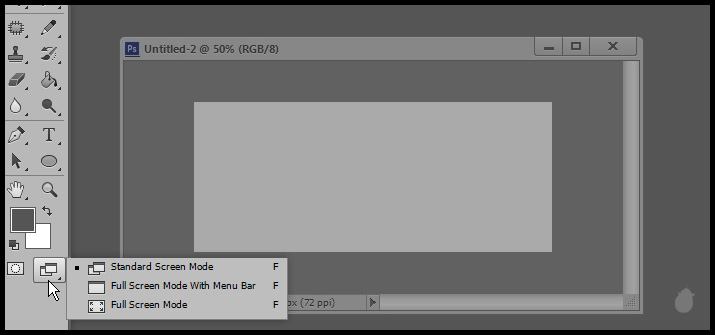
You can also assign different colors to all three different modes. Just select the mode and choose the color from the context menu.
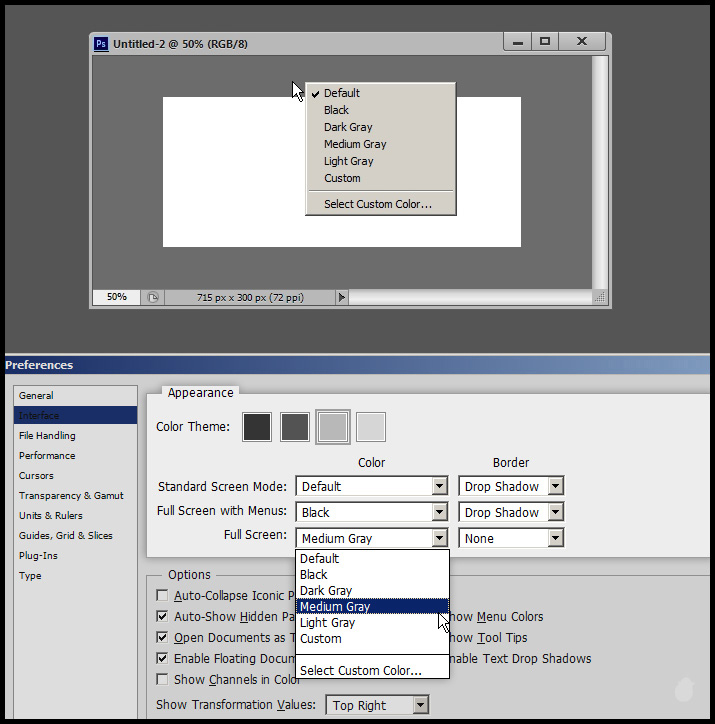
Open the Interface options in the Preferences dialog box (Ctrl + K) and under the 'Appearance' you will see the interface color (Color Theme) and the screen mode/canvas color.
Note the same drop-down list in the appearance option and the context menu are the same. And also notice the three different drop-down options for three screen modes.
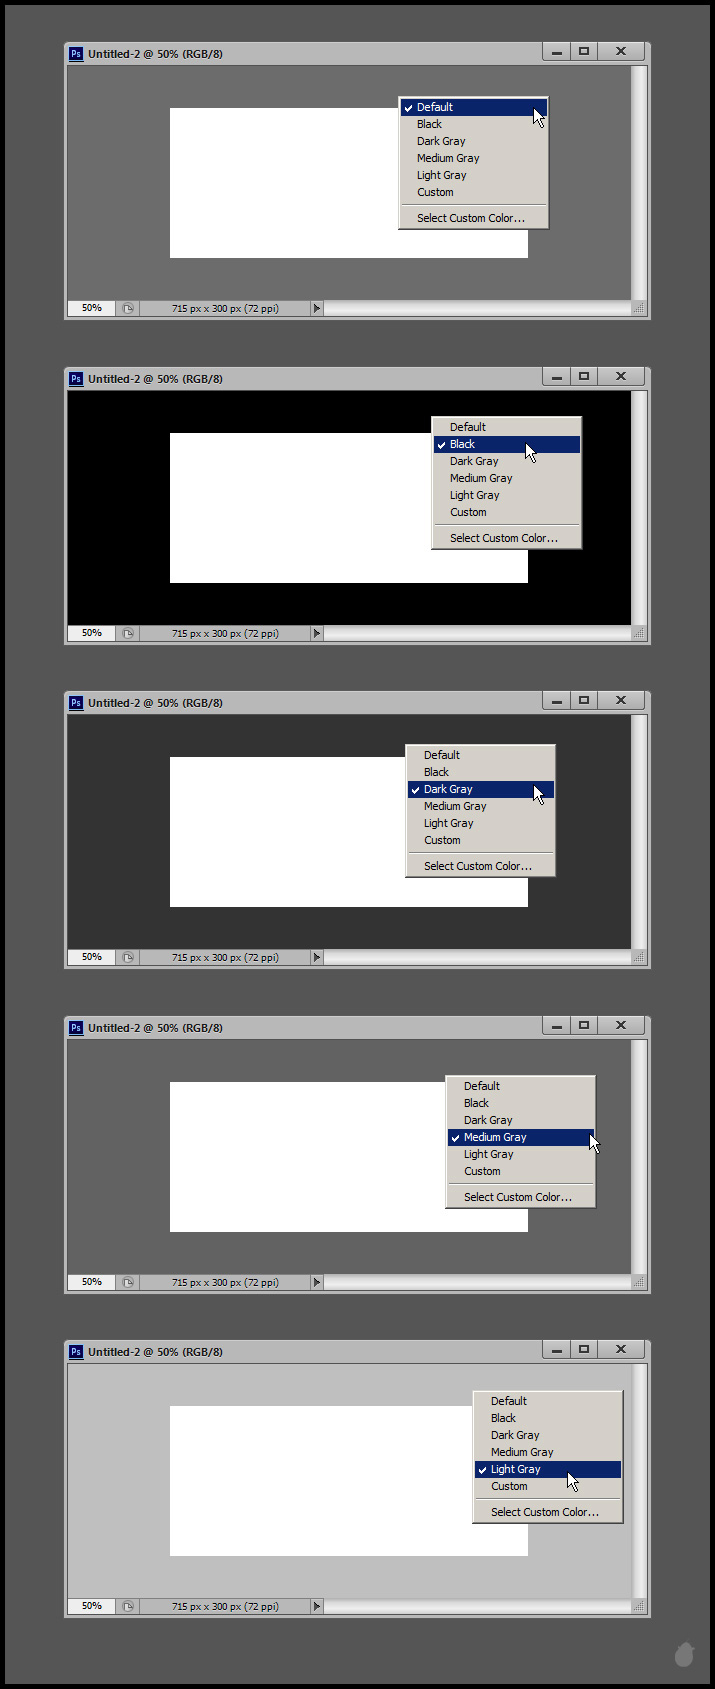
Each color has some distinctive look on the canvas. You can select whichever tone you want at any time from the context menu.
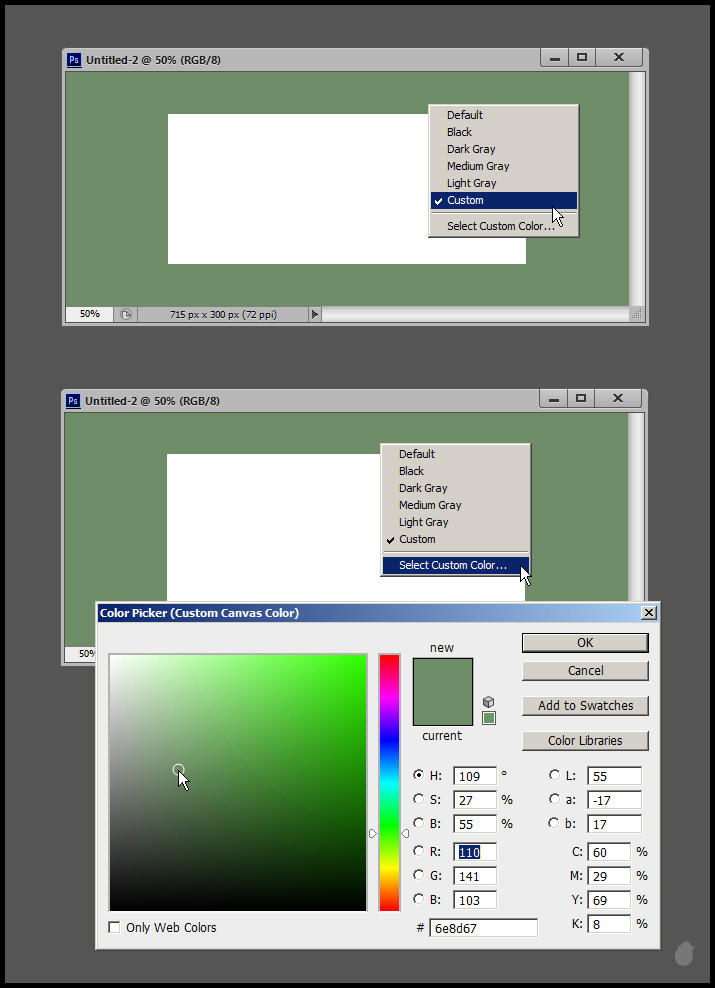
Custom color is the color you choose from the color picker, I have picked dark green from the color picker, the second image.
See the first image, I selected 'Custom' from the list and it displayed dark green. This will be my custom color till i change next time.
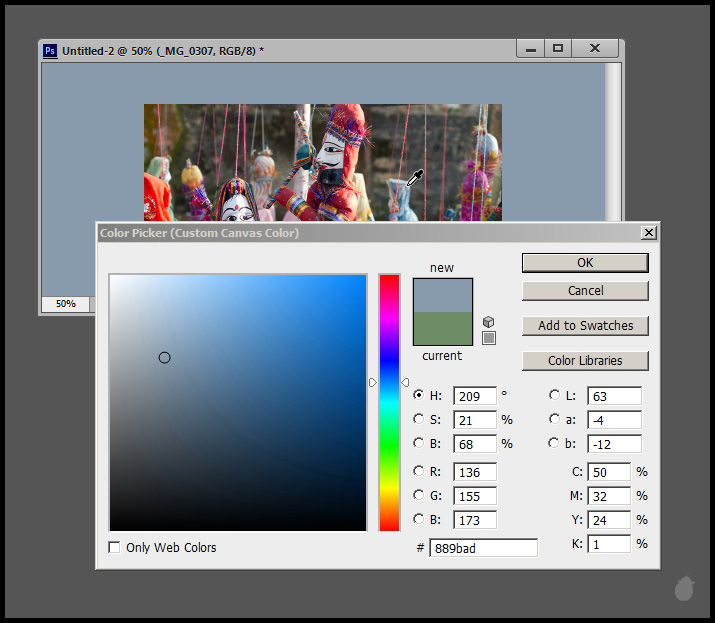
You can even use the eyedropper to select a color from the image. I have selected the ‘Select Custom Color’ from the context menu to open the color picker and when I move my mouse inside the image i get an eye dropper.
So in this way I can select whatever color I want and that’ll be my custom color, even if i close photoshop and open next time.
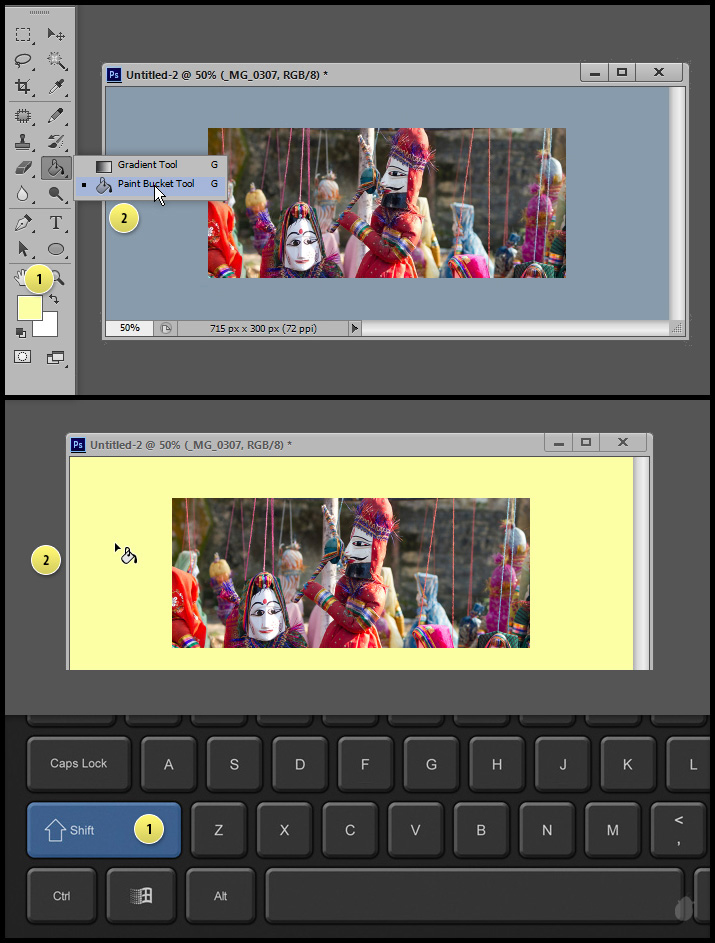
Another alternative method to change the custom color is to select the foreground color from the color picker in the tool bar and select the paint bucket tool.
Keep your mouse cursor in the canvas area and hold down the ‘Shift’ key and click on the canvas will apply the foreground color to the canvas.
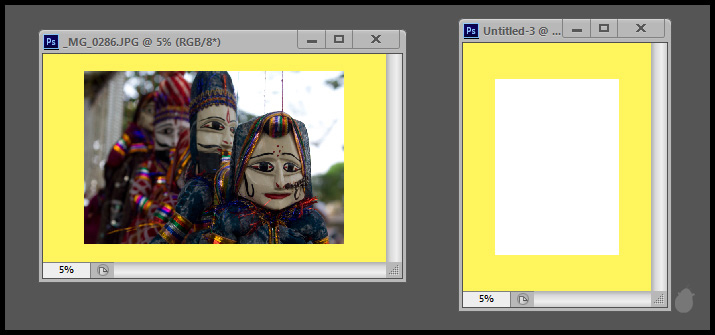
You cannot apply different canvas color for different document.
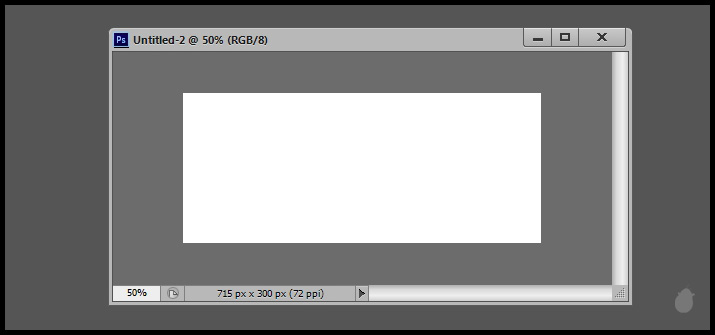
Currently iam in ‘Standard Screen Mode’ (image below) and I’ve opened two documents, one is an jpeg image and another is a new A4 document created inside photoshop. If I assign a color to one document it will reflects on both.
You can apply different color to different modes (fig 3.0) but not to different documents.
If you do not like any of the color, you can always go back to the 'Default' from the context menu, which displays the interface color.
It is completely flexible.
In the older version of photoshop (CS5) we had only 3 options, Default, Black and Custom Color. In CS6 they have included more options, Default, Black, Light Gray, Medium Gray, Dark Gray, Custom, Select Custom Color.
(fig 1.0)
Right-click on the canvas (not on the image) to display the color options from the context menu. Changing the canvas color won't affect the interface color.
(fig 2.0)
You can also assign different colors to all three different modes. Just select the mode and choose the color from the context menu.
(fig 3.0)
Open the Interface options in the Preferences dialog box (Ctrl + K) and under the 'Appearance' you will see the interface color (Color Theme) and the screen mode/canvas color.
Note the same drop-down list in the appearance option and the context menu are the same. And also notice the three different drop-down options for three screen modes.
(fig 4.0)
Each color has some distinctive look on the canvas. You can select whichever tone you want at any time from the context menu.
(fig 5.0)
Custom color is the color you choose from the color picker, I have picked dark green from the color picker, the second image.
See the first image, I selected 'Custom' from the list and it displayed dark green. This will be my custom color till i change next time.
(fig 6.0)
You can even use the eyedropper to select a color from the image. I have selected the ‘Select Custom Color’ from the context menu to open the color picker and when I move my mouse inside the image i get an eye dropper.
So in this way I can select whatever color I want and that’ll be my custom color, even if i close photoshop and open next time.
(fig 7.0)
Another alternative method to change the custom color is to select the foreground color from the color picker in the tool bar and select the paint bucket tool.
Keep your mouse cursor in the canvas area and hold down the ‘Shift’ key and click on the canvas will apply the foreground color to the canvas.
(fig 8.0)
(If you are interested you can buy this keyboard [Link])
You cannot apply different canvas color for different document.
Currently iam in ‘Standard Screen Mode’ (image below) and I’ve opened two documents, one is an jpeg image and another is a new A4 document created inside photoshop. If I assign a color to one document it will reflects on both.
You can apply different color to different modes (fig 3.0) but not to different documents.
(fig 9.0)
If you do not like any of the color, you can always go back to the 'Default' from the context menu, which displays the interface color.
No comments:
Post a Comment